The Crochet Cherry Leaf is more than a small green shape worked in yarn. It carries the hush of late spring, the cool weight of a branch heavy with fruit, the feeling of something real and tender made by hand.

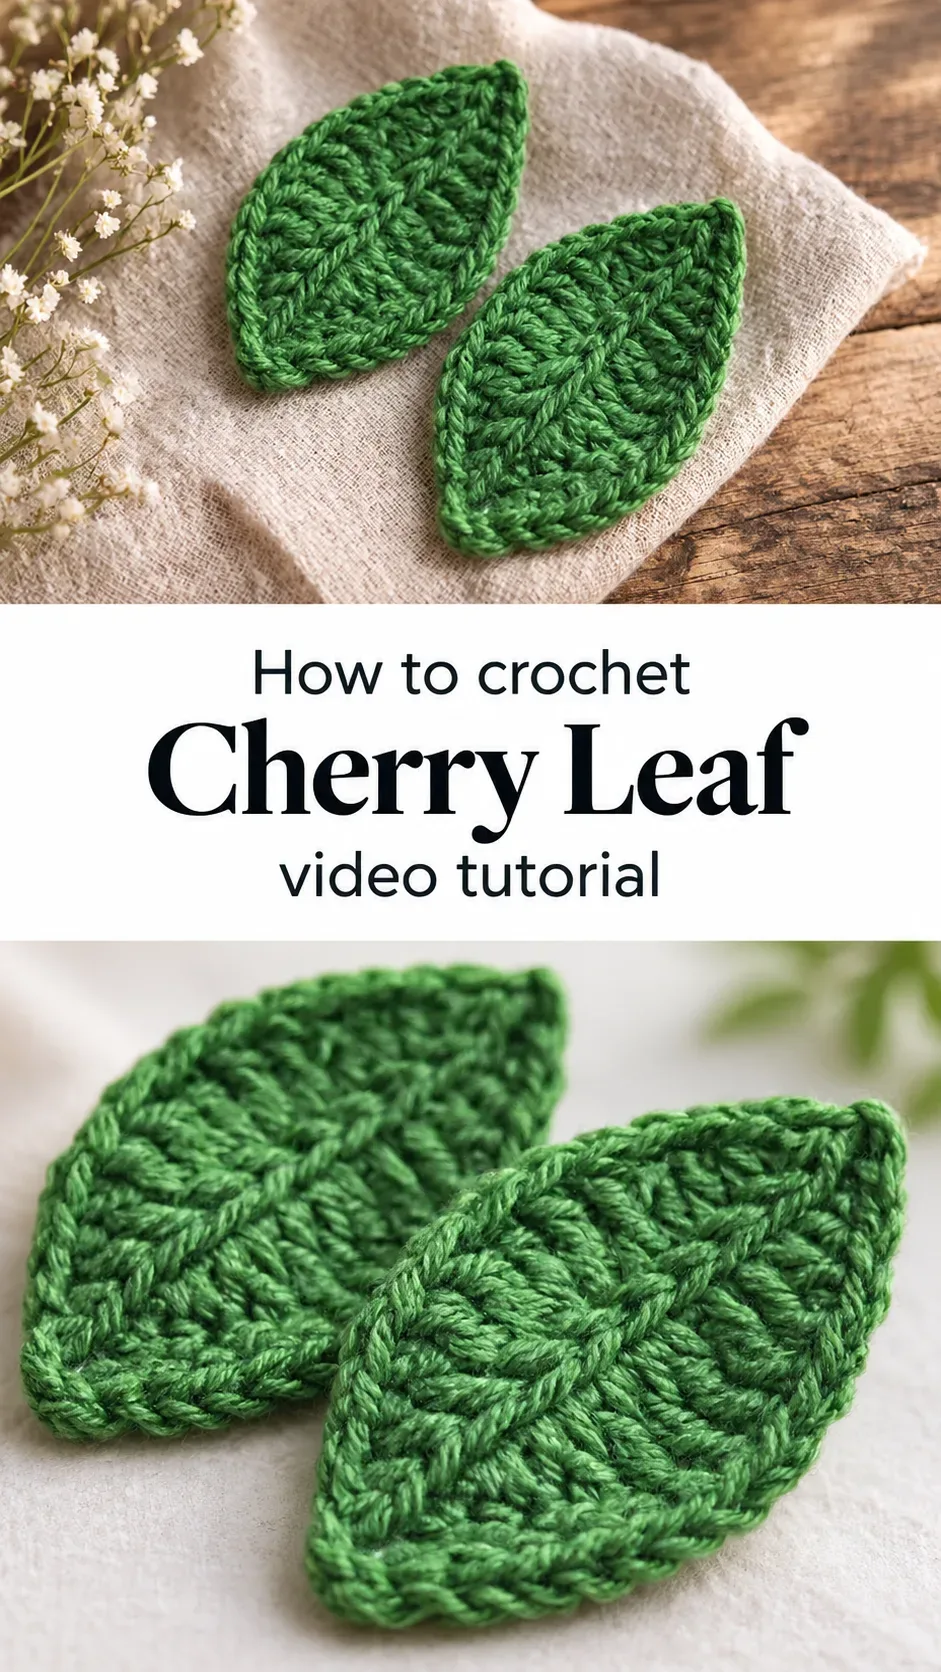
The Cherry Leaf
The Crochet Cherry Leaf is one of those small creations that holds a surprising amount of beauty in its modest size. Its pointed tip, gently curved edges, and raised central vein give it a botanical realism that feels almost too lovely to believe came from a hook and a length of yarn. Each finished leaf has a quality that is airy yet structured, flat enough to lie smooth against fabric but dimensional enough to catch the light in its ridges. This is a piece for the maker who finds meaning in the details, who wants their handwork to whisper rather than shout.
Cherry Leaf Related Posts:
- Crochet Daisy Earrings: A Delicate Floral Accessory
- Crochet Chenille Puff Flower: A Soft and Charming Accent
- Crochet 3D Roses: A Beautiful Dimensional Bloom
- Crochet Rose Embellishment: A Delicate Floral Accent
For color, the most natural choice is a deep forest green, the kind that reminds you of shaded garden paths in early summer, but do not stop there. A sage green worked in cotton gives the leaf a softer, more faded quality, while a bright kelly green in a mercerized yarn makes it pop with life against white linen or dark denim. You can make several leaves in graduating greens and arrange them together into a sprig, or use a single one as a quiet accent wherever you need a touch of the natural world.
Materials and Tools
For the Crochet Cherry Leaf, a DK weight yarn in 100% cotton is the most rewarding choice, giving the finished leaf crisp definition in every stitch and a gentle sheen that reads as botanical and refined. Cotton holds its shape beautifully after blocking, which is what allows the leaf’s pointed tip and curved silhouette to look so precise once finished. A 3.5mm crochet hook is the recommended size here, offering enough tension to keep the fabric firm without becoming stiff or difficult to work. Keep a locking stitch marker on hand to track your starting point, and a yarn needle for weaving in the two short ends the pattern produces.
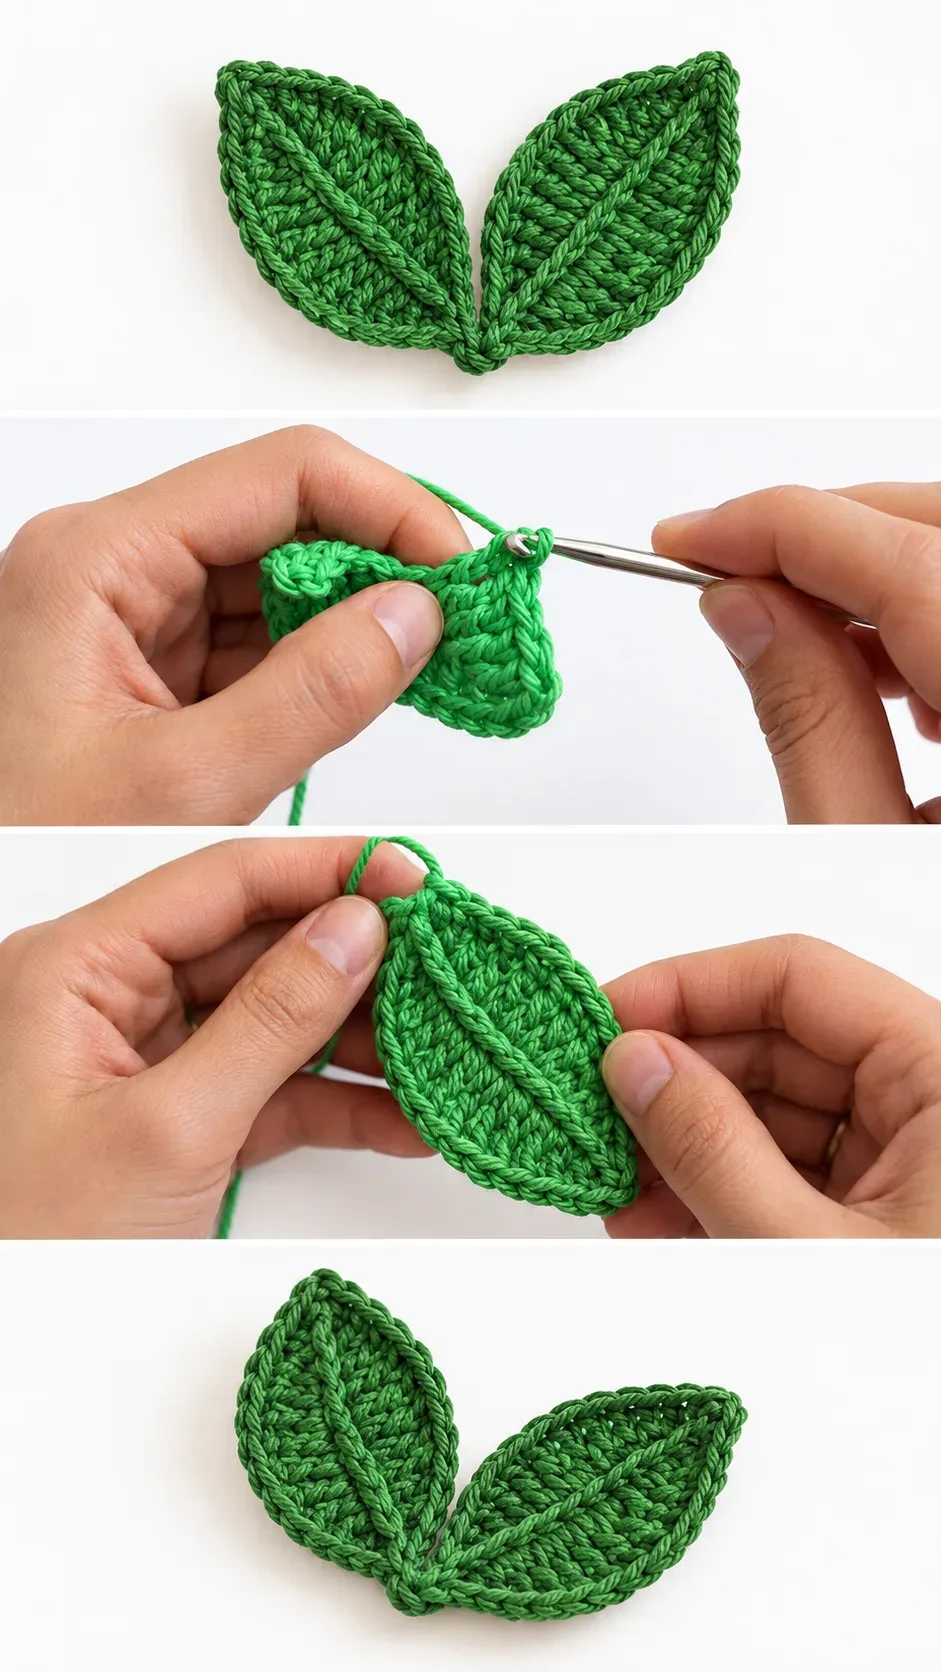
Stitch by Stitch
The Crochet Cherry Leaf draws on a small and friendly vocabulary of stitches that build naturally into the leaf’s organic shape.
BULLET:CH (Chain) The foundation chain creates the central spine of the leaf, setting up both sides of the design from a single starting line.
BULLET:SC (Single Crochet) Worked along the leaf’s edges, the SC stitch keeps the border tight and neat, giving the outline its clean, defined curve.
BULLET:HDC (Half Double Crochet) The HDC adds a gentle step up in height that begins shaping the body of the leaf with a soft, rounded quality.
BULLET:DC (Double Crochet) The DC stitch builds the widest, fullest part of the leaf, creating the sense of volume and presence that makes it read as three-dimensional.
Working through both sides of a foundation chain has a particular meditative rhythm to it, a back-and-forth that feels almost like tracing the outline of something that already exists in nature and is simply waiting for you to find it.
Construction
The Crochet Cherry Leaf is worked from a foundation chain outward, with stitches placed along both sides of that chain to form the two mirrored halves of the leaf in a single continuous pass. There are no seams, no panels to sew together, and no complicated shaping sequences, which makes this a genuinely accessible project even for someone newer to crochet who has the basic stitches in hand. The raised vein effect that gives the leaf so much of its character comes naturally from working into the back ridge of the foundation chain on one side, a small technique detail that the full video tutorial walks through with care and clarity. If you want a larger leaf for a brooch or hair piece, simply go up one hook size to a 4mm and choose a slightly heavier DK or light worsted weight yarn.
Wearing Your Cherry Leaf
Pin a finished Crochet Cherry Leaf to the lapel of a linen blazer for something that feels considered and quietly personal, or attach a small cluster of them to a straw hat for warm-weather wear that looks genuinely handcrafted rather than assembled. They work beautifully as embellishments on gift wrapping, tucked into a ribbon alongside dried flowers, or sewn onto a knit sweater near the neckline as a botanical accent. Finishing even one leaf is enough to make you want to make five more.
Keeping Your Cherry Leaf Fresh and Shape-True
Because the Crochet Cherry Leaf is most often made in cotton, it responds exceptionally well to wet blocking, which is the single most effective step for achieving that crisp, botanical silhouette you see in the finished examples. After working in your ends, soak the leaf briefly in cool water, press out the excess moisture gently in a towel, and pin it to a foam mat in its desired shape, pulling the tip to a fine point and easing the sides into their natural curve. Allow it to dry completely before unpinning, ideally overnight, and the shape will hold reliably through gentle hand washing in future. Store finished leaves flat in a small tin or envelope rather than folded, so the tip retains its pressed precision.
Every Crochet Cherry Leaf you make is a small act of care, both for the craft and for whoever receives it, whether that is yourself or someone you love. If this pattern brings something lovely into your day, share a photo of your finished leaves on Pinterest and save this post so you can find it again when the next season calls for something green and handmade.
Follow us on Pinterest and subscribe to the Newsletter so you don’t miss a thing!
Tutorial and photos of this cherry leaf by: Crochet Bits.