
Learn to crochet the Puff Cloud Bag, a small but deeply satisfying accessory that works beautifully as a wrist bag for a summer market, a charming pouch clipped to a larger tote, or a sweet evening bag for a casual dinner out.

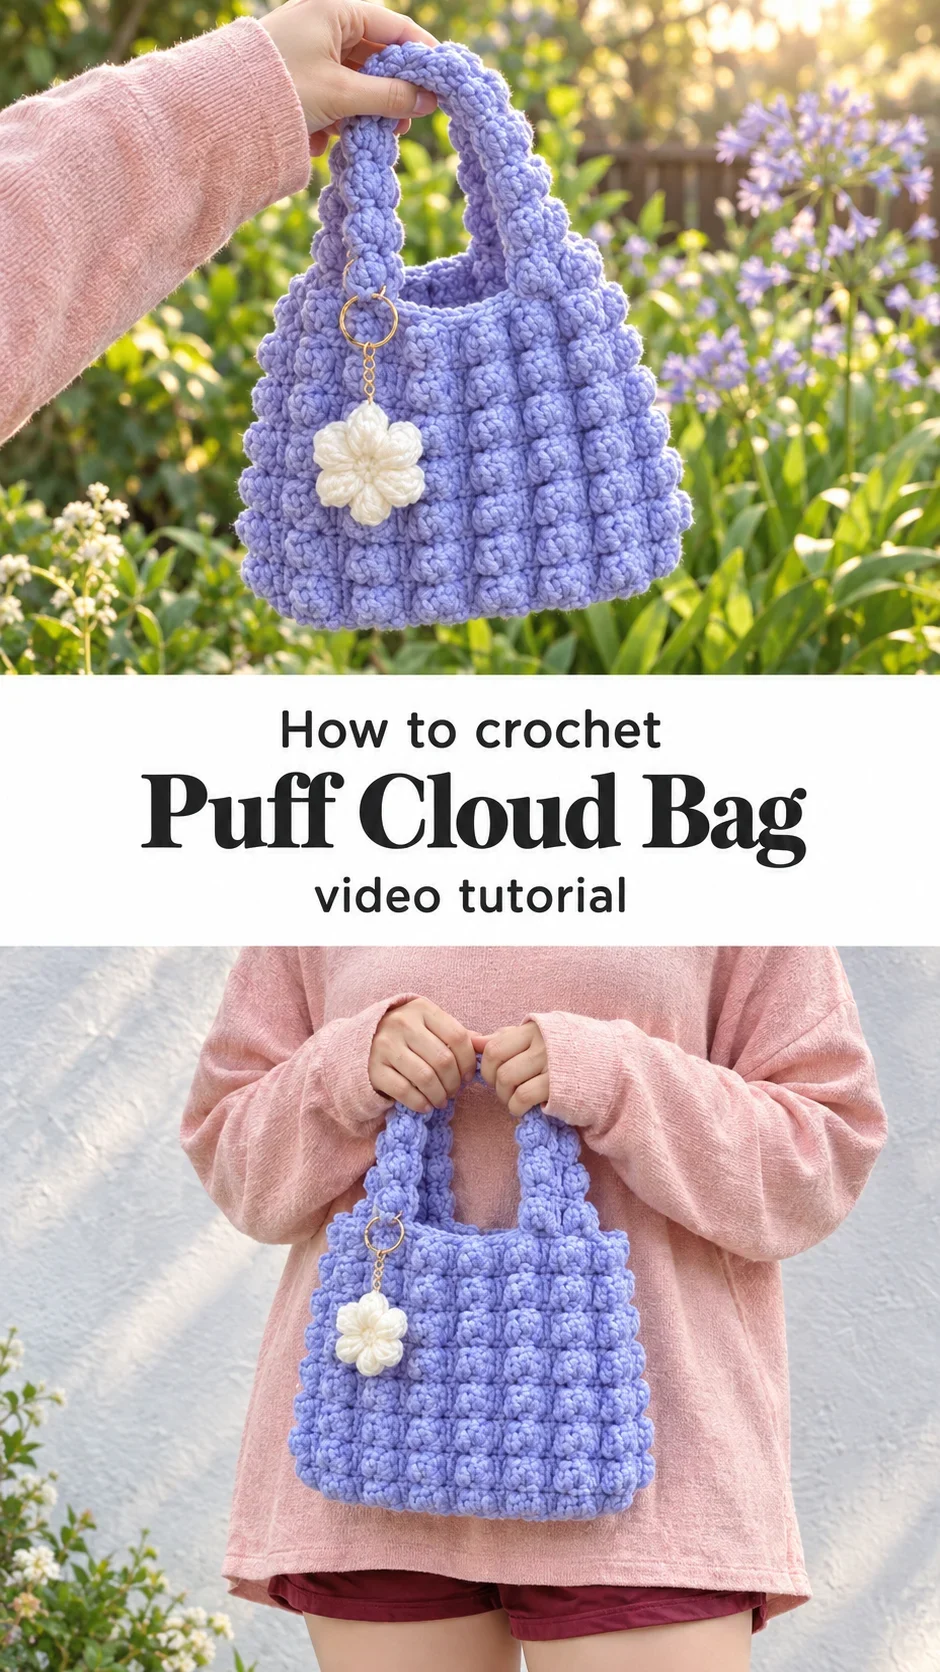
The Puff Cloud Bag
The Crochet Puff Cloud Bag is the kind of handmade piece that stops people mid-conversation. Its surface is built entirely from raised, rounded puff stitches that sit like soft billows of texture across the body of the bag, giving it an airy yet structured quality that feels almost sculptural in the hand. This is a bag for the maker who wants something small and precious, something that holds just enough and looks like it took twice the skill it actually required. It suits the crafter who loves slow-fashion details, the friend who appreciates a handmade gift, and the maker who wants to see results quickly without sacrificing beauty.
Cloud Bag Related Posts:
- Crochet Textured Tote Bag: A Charming Everyday Accessory
- Crochet Daisy Bookmark: A Charming Reading Companion
- Crochet Flower Headband: A Charming Winter Accessory
- Crochet Treble Tote Bag: A Textured Summer Essential
The Crochet Puff Cloud Bag shown in the original tutorial by Vivi Crochet comes in a soft periwinkle blue and a gentle lilac purple, both of which carry that nostalgic, cottagecore softness that photographs so well in natural light. A warm butter yellow, dusty rose, or sage green would feel equally at home in this stitch pattern. The bag’s petite silhouette means it pairs effortlessly with a linen dress, a vintage denim jacket, or even a cosy knit layered look in the cooler months.
Materials and Tools
To make the Crochet Puff Cloud Bag, you will want to reach for a bulky weight yarn, ideally something in the category of a chunky or super bulky chenille or velvet yarn, as this fibre type gives the puff stitches that full, rounded silhouette seen in the tutorial. A smooth acrylic or acrylic-blend yarn in bulky weight also works beautifully and holds the stitch definition well over time. For the hook, a 5mm or 6mm crochet hook is the sweet spot for achieving an airy yet structured fabric that does not collapse under the weight of the puff clusters. You will also need a yarn needle for weaving in ends, a pair of small scissors, and optional hardware such as a gold keyring and chain for attaching the crocheted flower charm that finishes the bag so perfectly.
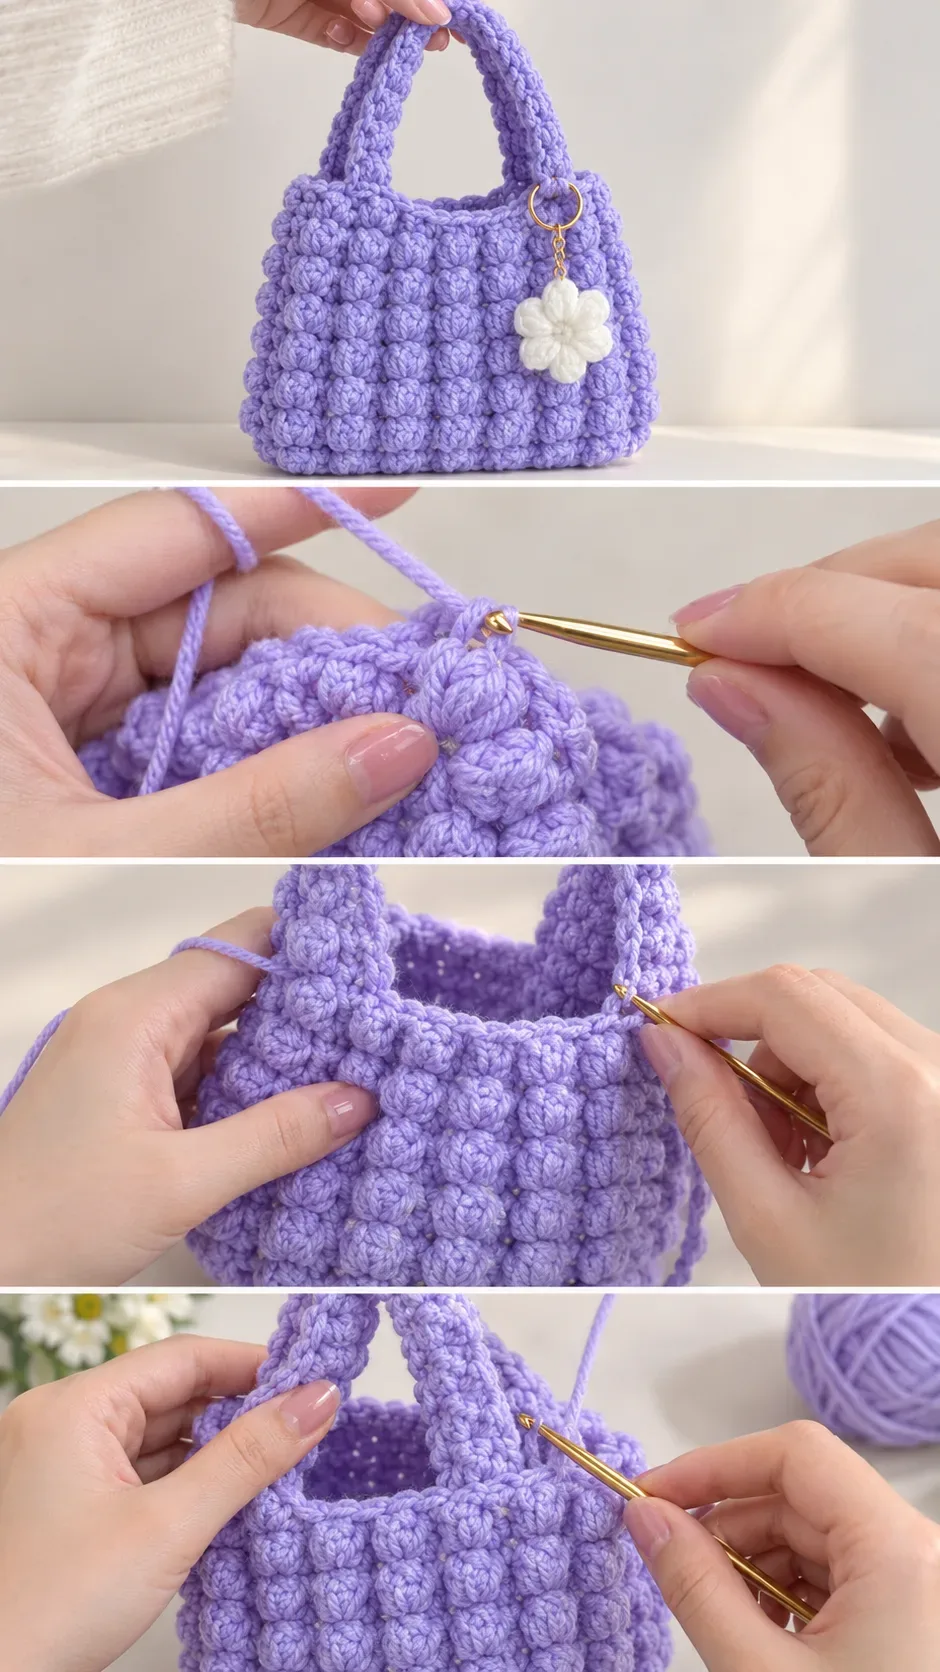
Stitch by Stitch
The Crochet Puff Cloud Bag uses a small, focused collection of stitches that are approachable even if you are relatively new to crochet.
BULLET:SC (Single Crochet) This foundational stitch is used to create the base row of the bag and to define clean edges throughout the construction.
BULLET:CH (Chain) The chain stitch forms the starting foundation as well as the short handles of the bag, giving them a neat and sturdy structure.
BULLET:Puff Stitch (multiple YO half double crochets gathered into one stitch) This is the hero of the pattern, created by drawing up multiple loops through the same stitch before pulling through all loops at once to form a raised, cloud-like cluster.
BULLET:SL ST (Slip Stitch) The slip stitch is used to join rounds seamlessly, keeping the bag’s circular construction tidy and even as you work your way up the sides.
Once you settle into the rhythm of the puff stitch, working each cluster becomes almost meditative, a satisfying press and pull that rewards you with a perfectly plump little mound of yarn every single time.
Construction
The Crochet Puff Cloud Bag is worked in the round from the bottom up, beginning with a chain foundation that is joined and then worked around both sides to create an oval base before building upward in continuous rounds of puff stitches. The video tutorial from Vivi Crochet walks you through each round clearly, including Row 2 which calls for 60 SC total around using a Chain 1 turning structure, and continues to guide you through placing puff clusters in a consistent, evenly spaced pattern up the body of the bag. Beginners will find the repetition reassuring once the base is established, as the puff stitch repeat becomes instinctive very quickly. If you want a slightly larger bag, simply adding two or four more stitches to your foundation chain before you begin will scale the whole piece up proportionally.
Wearing Your Puff Cloud Bag
Carry the finished Crochet Puff Cloud Bag by its crocheted handles looped over your wrist for a market morning, or attach it to a longer strap for a hands-free crossbody option that still draws every compliment. It holds a phone, a lip balm, some coins, and a folded receipt with ease, which makes it ideal as an everyday grab-and-go piece. Add the crocheted flower charm in a contrasting colour, as Vivi Crochet does with the red flower against the blue bag, and the whole piece suddenly feels like a small act of wearable art.
Keeping Your Puff Cloud Bag Fresh and Full
Because the puff stitches are what give this bag its charm, protecting their shape is the most important part of caring for your finished piece. If you used an acrylic or acrylic-blend yarn, a gentle hand wash in cool water with a mild soap is ideal, followed by pressing out excess water between two clean towels rather than wringing, which can distort the clusters. Lay the bag flat to dry or gently reshape it over a small round bowl to encourage the base to hold its oval form. Store it stuffed lightly with tissue paper when not in use so the puff stitches keep their lovely, lifted shape between wearings.
Every Crochet Puff Cloud Bag you finish is a small, wearable reminder that making something by hand with your own time and care is always worth it. Head to Vivi Crochet’s full video tutorial for the complete pattern, then pin this article to your crochet accessories board so you can find it again when you are ready to cast on in a new colour.
Follow us on Pinterest and subscribe to the Newsletter so you don’t miss a thing!
Tutorial and photos of this puff cloud bag by: Vivi Crochet 🌷.