
A free video tutorial is available to guide you through every loop and pull of the Crochet Increase Stitch with total clarity. This single technique is the secret architecture behind every beautifully shaped crochet accessory you have ever admired!

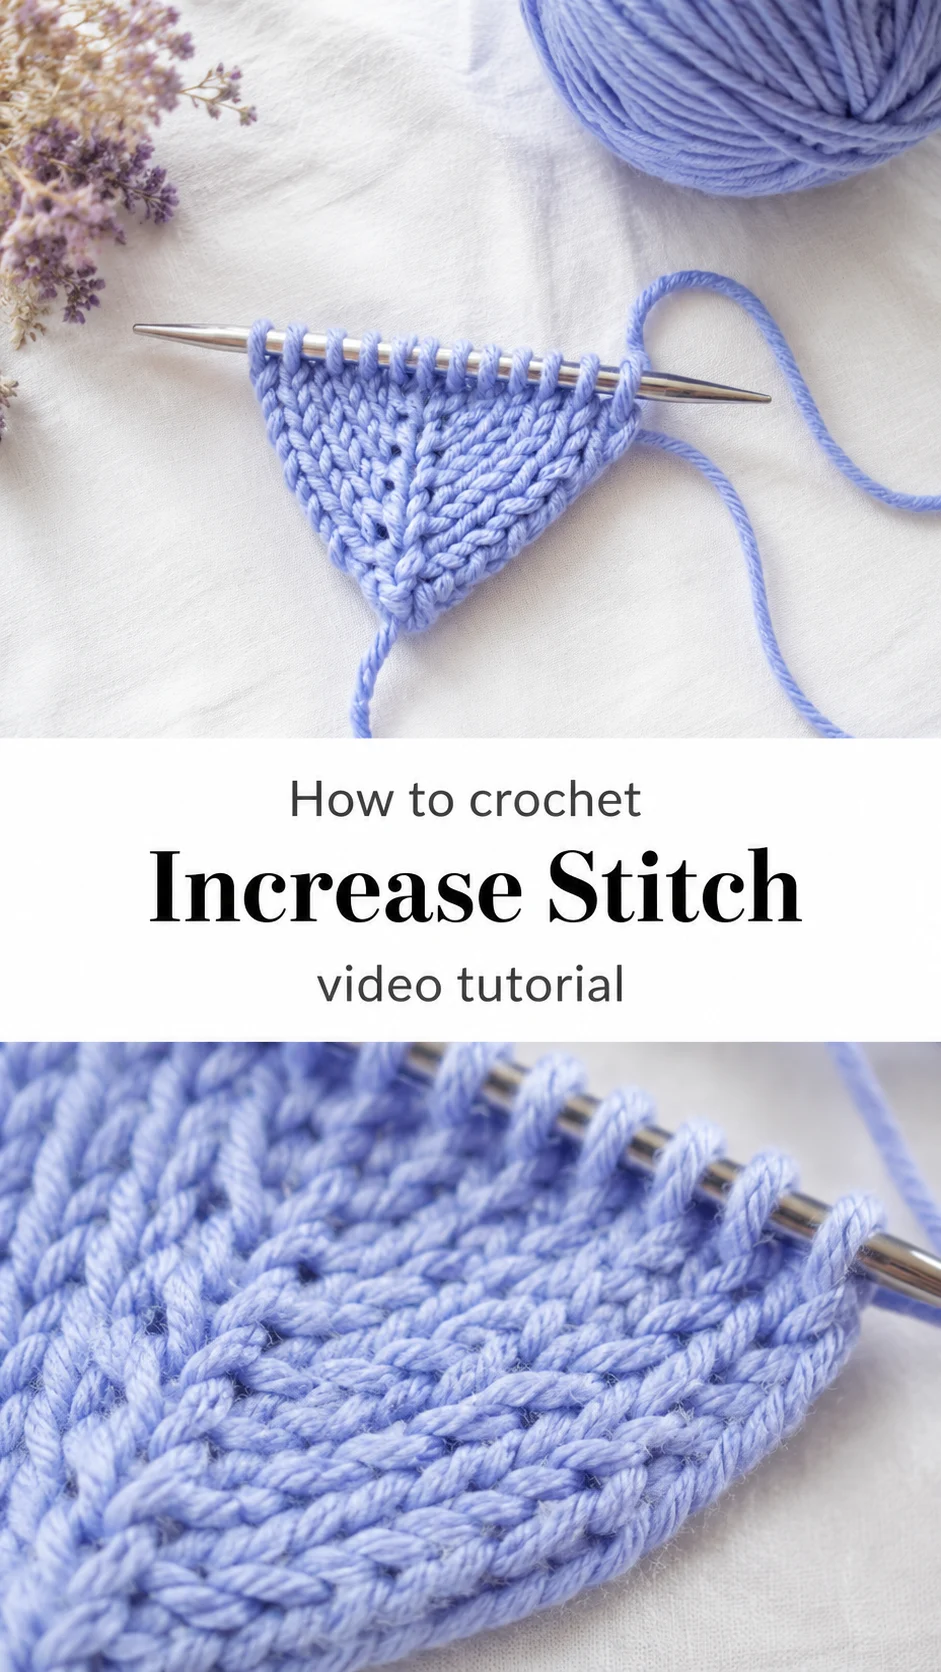
The Increase Stitch
The Crochet Increase Stitch is one of those quiet skills that holds enormous creative power, the kind of technique that feels almost ceremonial once your hands begin to understand it. It works two stitches into a single stitch, gently fanning the fabric outward in a way that feels organic and intentional, like something breathing into shape beneath your fingers. This stitch belongs to anyone who wants to move beyond flat rectangles and begin sculpting, whether you are crafting a fitted beret, a curved clutch flap, or a shawl collar that drapes like a sigh. It is beginner-friendly in its logic and quietly satisfying for intermediate makers who want precision in every round.
Increase Stitch Related Posts:
- Crochet Chain Backpack: A Chic and Timeless Accessory
- Crochet Leg Warmers: A Cozy Winter Accessory
- Crochet Bucket Hat: A Chic and Timeless Accessory
- Crochet Bottega Veneta Waist Bag: A Chic Fashion Statement
Soft lavender, warm terracotta, and creamy oat tones suit this stitch particularly well, as the angled structure catches light in a way that makes even a single color look dimensional. A tonal palette, where shades drift from blush to rose to dusty mauve, gives your increases a sculptural quality that feels effortlessly considered. This is a stitch that works just as beautifully in a single bold hue as it does in a gradient, which makes it wonderfully adaptable across seasons and styles.
Materials and Tools
For a project centered on the Crochet Increase Stitch, a worsted weight yarn is the most forgiving and expressive choice, giving each stitch enough body to show the shape as it grows. A smooth merino blend or a cotton-acrylic mix in worsted weight will drape with just enough structure to let the increase lines read clearly against the fabric. Reach for a 5mm crochet hook, which offers the ideal tension for worsted weight and keeps your stitches airy yet structured without pulling tight. A stitch marker placed at each increase point is not optional here, it is the small tool that keeps your shaping honest and your rounds clean.
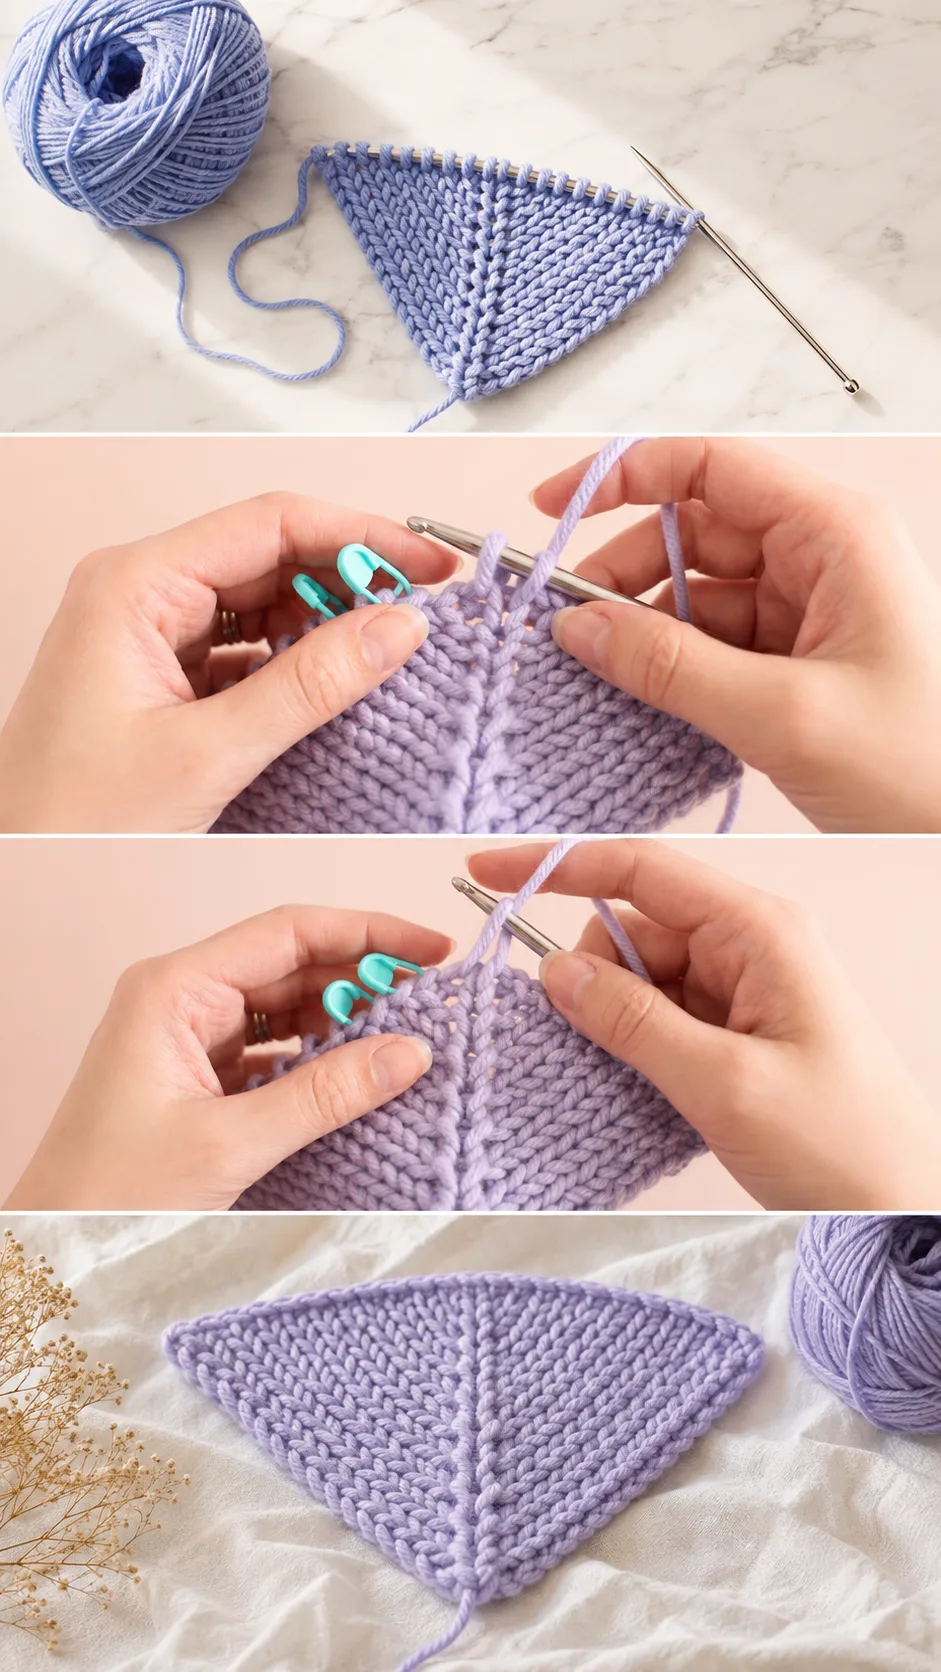
Stitch by Stitch
The Crochet Increase Stitch calls on a small, elegant vocabulary of techniques that combine with meditative rhythm.
BULLET:SC (Single Crochet) The foundational stitch that anchors your fabric and sets the pace for every increase that follows.
BULLET:INC (Increase) Two SC worked into the same stitch, creating a gentle outward flare that is the heart of this technique.
BULLET:DC (Double Crochet) Used in some increase variations to create a taller, more open fan effect within the shaped section.
BULLET:YO (Yarn Over) The simple wrapping motion that initiates your DC increases and gives them their characteristic height.
Working the Crochet Increase Stitch has a particular kind of pull to it, a repetitive, almost musical quality where the fabric grows in soft waves under your hands and time moves differently than it does in the rest of the day.
Construction
Most accessories built on the Crochet Increase Stitch are worked in the round or from a central point outward, which means there are no seams to sew and no panels to align, just a continuous spiral of growing, breathing fabric. The increases are typically placed at evenly spaced points in each round, and as those points stack, they create the subtle ridges and angles that give shaped crochet its character. Beginners will find comfort in the logic here: every round tells you exactly where the increases live, especially when stitch markers are used consistently. To personalize the finished piece, try working the final rounds in a contrast color that traces the increase lines like an outline drawing.
Wearing Your Increase Stitch
A beret or bucket hat shaped with the Crochet Increase Stitch pairs beautifully with an oversized linen coat and worn leather boots, that particular combination of handmade softness and unhurried dressing that feels like a slow Saturday. As a bag flap or clutch front, the increase shaping creates a rounded silhouette that tucks under your arm with quiet elegance. Finish a small curved coin purse with a brass zipper and you have an accessory that feels collected and considered rather than crafted in a hurry.
Keeping Your Shaped Accessories Looking Their Best
Accessories worked in the Crochet Increase Stitch benefit enormously from wet blocking after finishing, as this process coaxes the increases into their fullest, most intentional shape and softens any tension irregularities into smoothness. For merino or wool blends, a gentle hand wash in cool water with a drop of wool wash, followed by pressing flat between two towels, preserves both the fiber and the structure. Cotton and acrylic blends can be misted and pinned to a foam mat, allowing the shaped rounds to dry in their proper dimensions. Store finished pieces folded loosely rather than hung, so the increase shaping does not stretch under its own weight over time.
Every loop you place with intention is a small act of making something from nothing, and that is worth celebrating every single time you pick up your hook. Save this article to your Pinterest boards and share your finished pieces so other makers can find their way to this skill too.
Follow us on Pinterest and subscribe to the Newsletter so you don’t miss a thing!
Tutorial and photos of this increase stitch by: B.Hooked Crochet.