
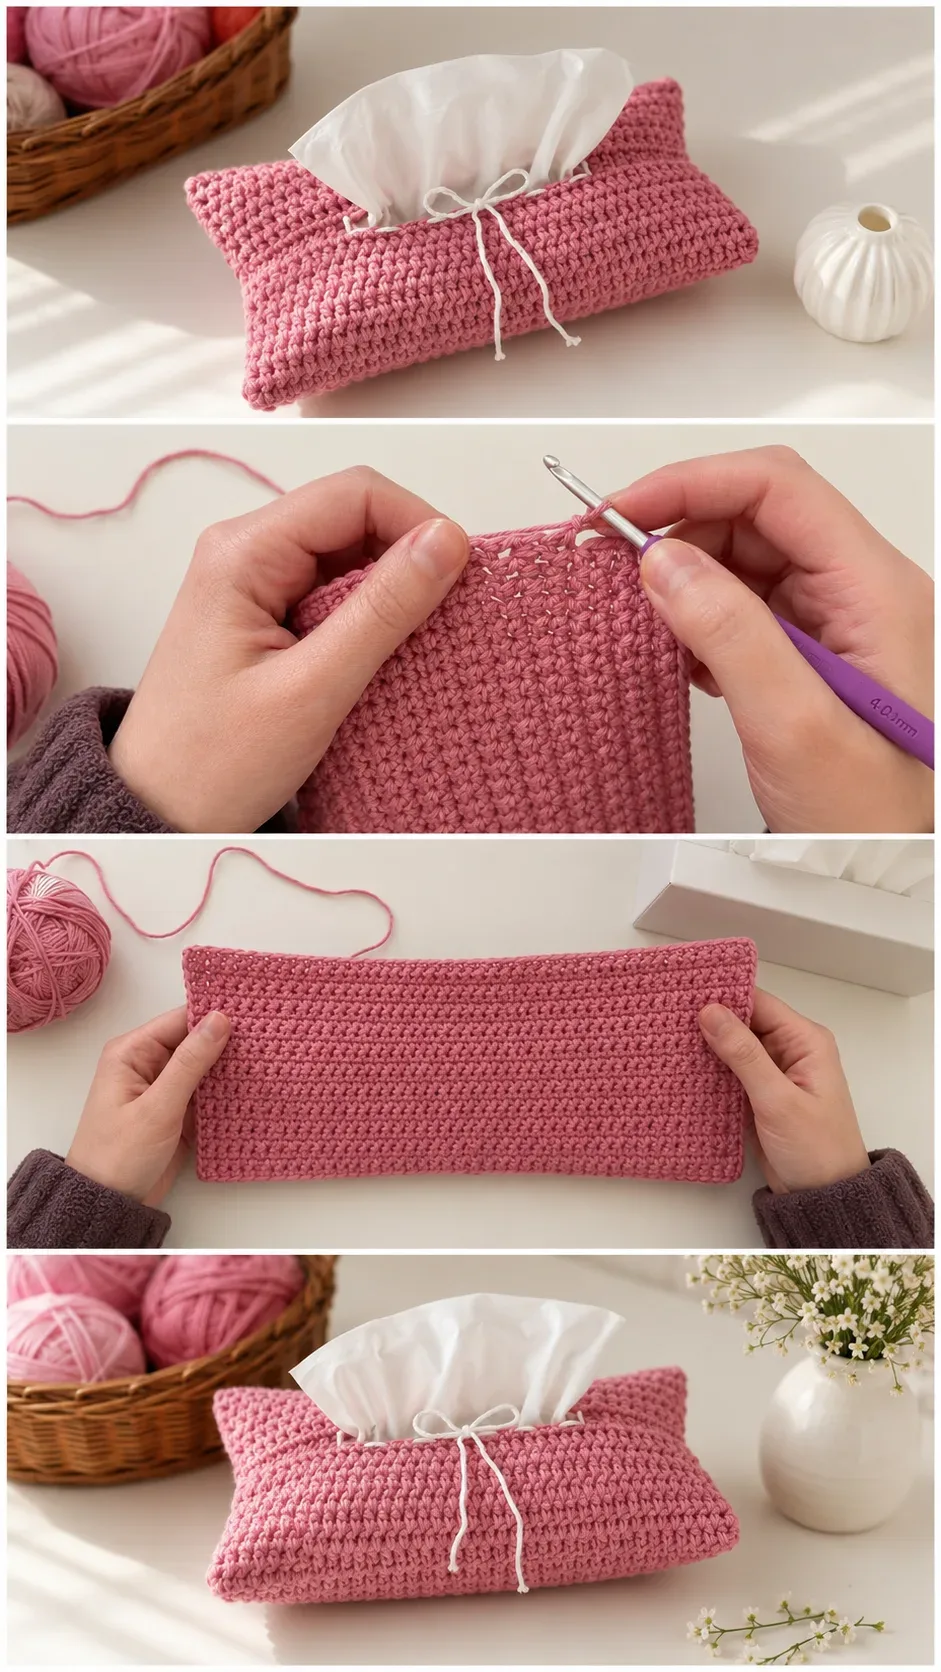
A crochet tissue cover wraps a simple household box in a neat rectangular shell of textured stitches, open at the top and finished with a delicate ribbon tie at the centre. This one pattern quietly transforms every room it rests in, from a bedside table to a bathroom shelf to a guest sitting room.


The Tissue Cover
A crochet tissue cover is one of those small, considered objects that changes the feeling of a room without announcing itself. It sits low and flat, hugging the box beneath it like a second skin, its surface alive with the raised, repeating texture of closely worked single crochet. The ribbon threaded through the top edge and tied into a soft bow gives it a whisper of elegance that feels both handmade and quietly refined. This is a piece for anyone who believes that everyday objects deserve the same care and beauty as the things we wear.
Tissue Cover Related Posts:
- Crochet Giant 3D Roses: A Stunning Floral Masterpiece
- Crochet Table Mat: A Festive Home Accent
- Crochet Lace Doily: A Delicate Handmade Accent
- Crochet Seamless Circle: A Perfect Foundation Piece
The dusty rose shown in the reference images is a wonderful starting point, warm and vintage without being sugary, and it works especially well against white linens and natural wood. But a crochet tissue cover also looks beautiful in sage green, off-white, or a deep terracotta, depending on the palette of your home. Think of it as a small accent piece you can swap with the seasons.
Materials and Tools
For this project, a cotton or cotton-blend yarn in worsted weight is the ideal choice, giving the finished cover a firm, structured body that holds its rectangular shape without being stiff. The maker in the video uses what appears to be a smooth, tightly twisted cotton that shows off every stitch with crisp clarity, and that kind of yarn rewards the repetitive SC rhythm beautifully. A 4.0mm crochet hook, as visible on the purple-handled hook in the tutorial, is the recommended size and produces a fabric that is airy yet structured, neither too dense nor too loose. A yarn needle for weaving in ends and a length of thin ribbon or cotton cord for the bow finish the supply list neatly.
Stitch by Stitch
This crochet tissue cover draws on a small, approachable collection of stitches that any beginner can build confidence with quickly.
BULLET:CH (Chain) The foundation chain sets the width of the cover and determines how snugly it will fit your tissue box.
BULLET:SC (Single Crochet) The primary stitch of the entire piece, worked in continuous rows to build up the dense, beautifully textured panels.
BULLET:SC2TOG (Single Crochet Two Together) Used at the corners or shaping points to bring panels together cleanly without bulk.
BULLET:SL ST (Slip Stitch) Used to join rounds or panels and to create a neat, invisible seam along the assembled edges.
Working row after row of SC has a meditative rhythm to it, the hook moving in and the loop pulling through in one smooth motion, over and over, until the panel grows beneath your hands like something almost effortless.
Construction
The crochet tissue cover is worked in flat panels that are then seamed together to form the box shape, with the top left open in a long rectangular opening through which the tissue box plastic wrapping or tissues emerge. The sides are crocheted separately and joined with a slip stitch seam, creating clean, firm edges at every corner. A row of chain spaces worked along the top opening allows the ribbon tie to be threaded through and drawn into a bow, a finishing detail that is both functional and decorative. If you want to customise the fit, simply count your foundation chain against the dimensions of your tissue box before you begin and adjust accordingly.
Wearing Your Tissue Cover
Place your finished crochet tissue cover on a bedside table alongside a ceramic lamp and a small stack of books for a cosy, curated look that feels genuinely lived in. It is equally at home on a bathroom vanity shelf, where the cotton yarn handles the occasional splash without losing its shape. Set one on a coffee table during a slow Sunday morning and it quietly becomes part of the ritual.
Keeping Your Crochet Tissue Cover Fresh and Tidy
Because this cover is made in cotton worsted, it responds beautifully to a gentle hand wash in cool water with a mild detergent, and it dries flat quickly without losing its shape. If the edges curl slightly after washing, a light blocking with a damp cloth and your hands pressing the panels flat will restore the crisp, squared look within an hour or so. Avoid wringing the piece, as this can distort the seams at the corners over time. Stored flat in a drawer or on a shelf when not in use, a crochet tissue cover will keep its colour and structure for a very long time.
Every time you reach for a tissue and your hand meets that soft, textured cotton instead of a plain cardboard box, you will feel exactly why handmade objects matter in a home. Watch the full video tutorial for the complete pattern and all the details, and when yours is finished, share a photo on Pinterest or Instagram so other makers can find the inspiration too.
Follow us on Pinterest and subscribe to the Newsletter so you don’t miss a thing!
Tutorial and photos of this tissue cover by: crochet daniela .