
Today’s guide walks you through the soft, cloud-like world of the Crochet Bunny Plushie, a velvet-textured creature worked in chenille yarn that feels like holding a handful of marshmallow fluff. Pull up your hook and let this sweet little companion come to life beneath your fingertips.

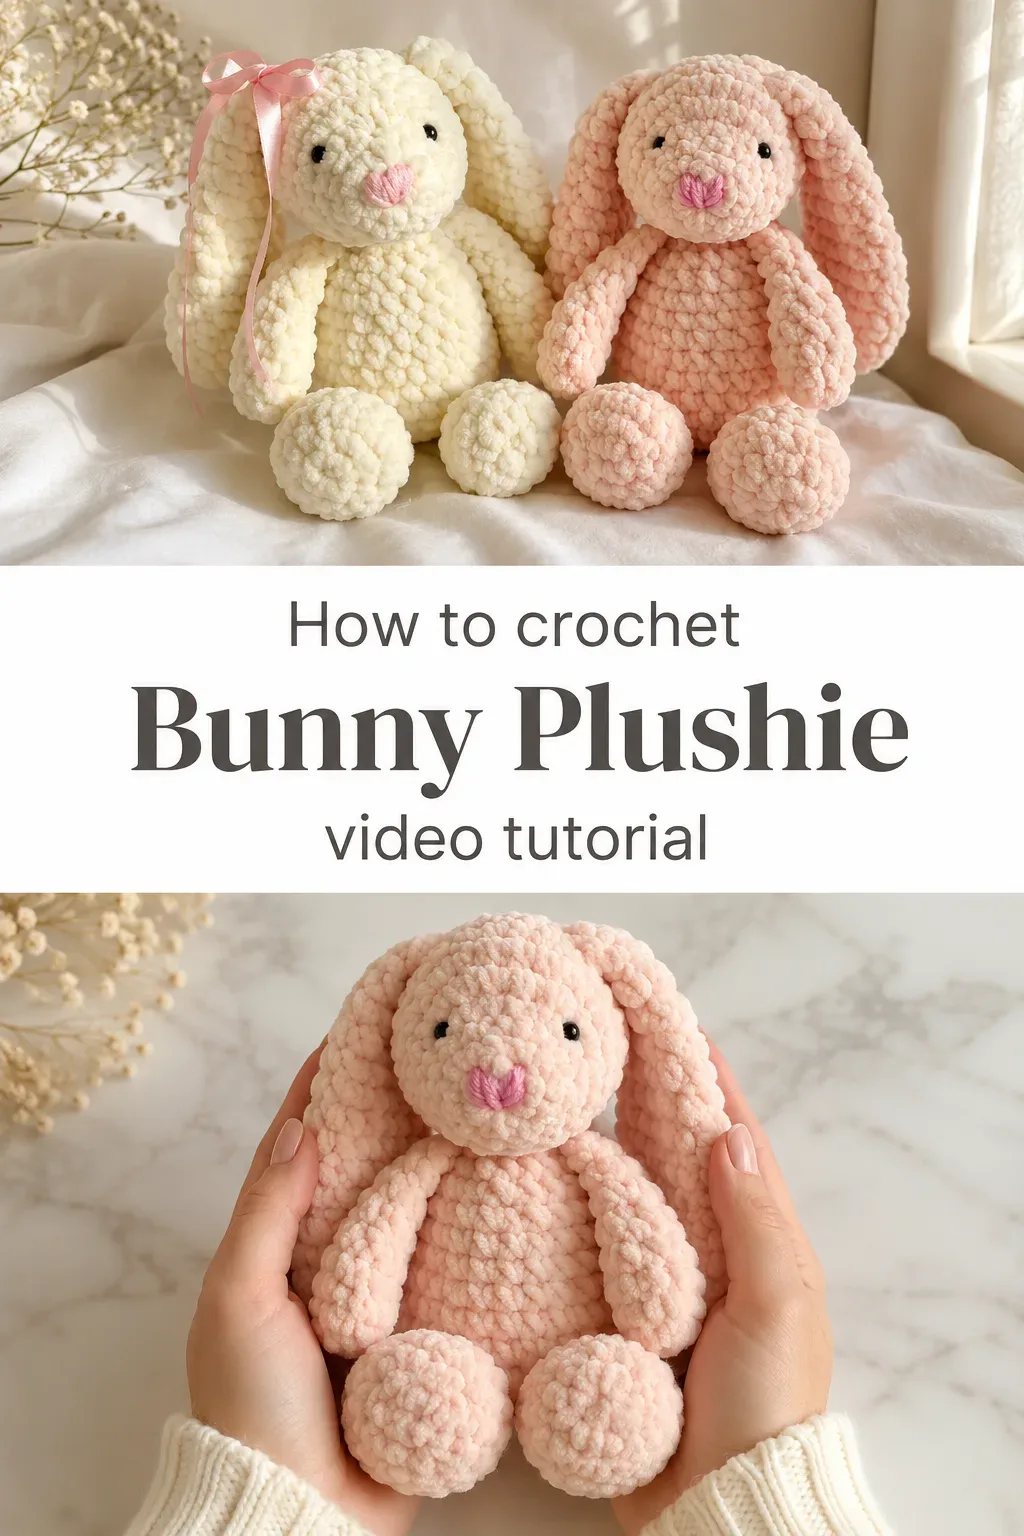
The Bunny Plushie
The Crochet Bunny Plushie is one of those rare handmade objects that manages to be both deeply nostalgic and entirely timeless, the kind of thing you set on a shelf and find yourself smiling at hours later. Its floppy, oversized ears hang with a gentle weight, its round belly sits with the satisfying solidity of a well-stuffed amigurumi, and its tiny embroidered nose gives it a personality that feels almost alive. This is a plushie for the crafter who wants to make something that will genuinely be treasured, whether gifted to a new baby, tucked into a child’s arms at bedtime, or kept as a soft, handmade accent in a nursery or bedroom. It carries that meditative quality of something made slowly and with real intention.
Bunny Plushie Related Posts:
- Crochet Zodiac Mouse: A Charming Year of the Rat Keepsake
- Crochet Mario and Luigi Dolls: An Iconic Gaming Treasure
- Crochet Daruma Doll: A Traditional Japanese Treasure
- Crochet Hippo Plushie: An Adorable Snuggly Companion
The two colorways shown in the tutorial, a barely-there cream and a blushing petal pink, feel like they were pulled straight from a springtime mood board, but this pattern welcomes your own instincts entirely. A sage green bunny would feel botanical and serene, while a warm oat or sand tone would lean into that quiet, Scandinavian-inspired aesthetic. You could even make a pair in complementary shades and tie matching satin ribbon bows at their ears for a gift set that needs no wrapping to feel special.
Materials and Tools
The Crochet Bunny Plushie is worked in bulky-weight chenille yarn, specifically the kind often labeled as velvet or jumbo chenille, which gives the finished piece that irresistibly plush, bobbled surface you can see in the tutorial stills. A 5mm or 5.5mm crochet hook is the sweet spot for this yarn weight, keeping your stitches tight enough to hold the stuffing inside without gaps while still allowing the chenille to bloom and texture beautifully. Because this is a toy, it is worth choosing a yarn that is both washable and non-pilling, as chenille yarns vary considerably in quality. You will also need polyester fiberfill stuffing, a pair of 10mm safety eyes, a tapestry needle for seaming, and a length of pink embroidery floss for the little nose detail that gives the bunny its character.
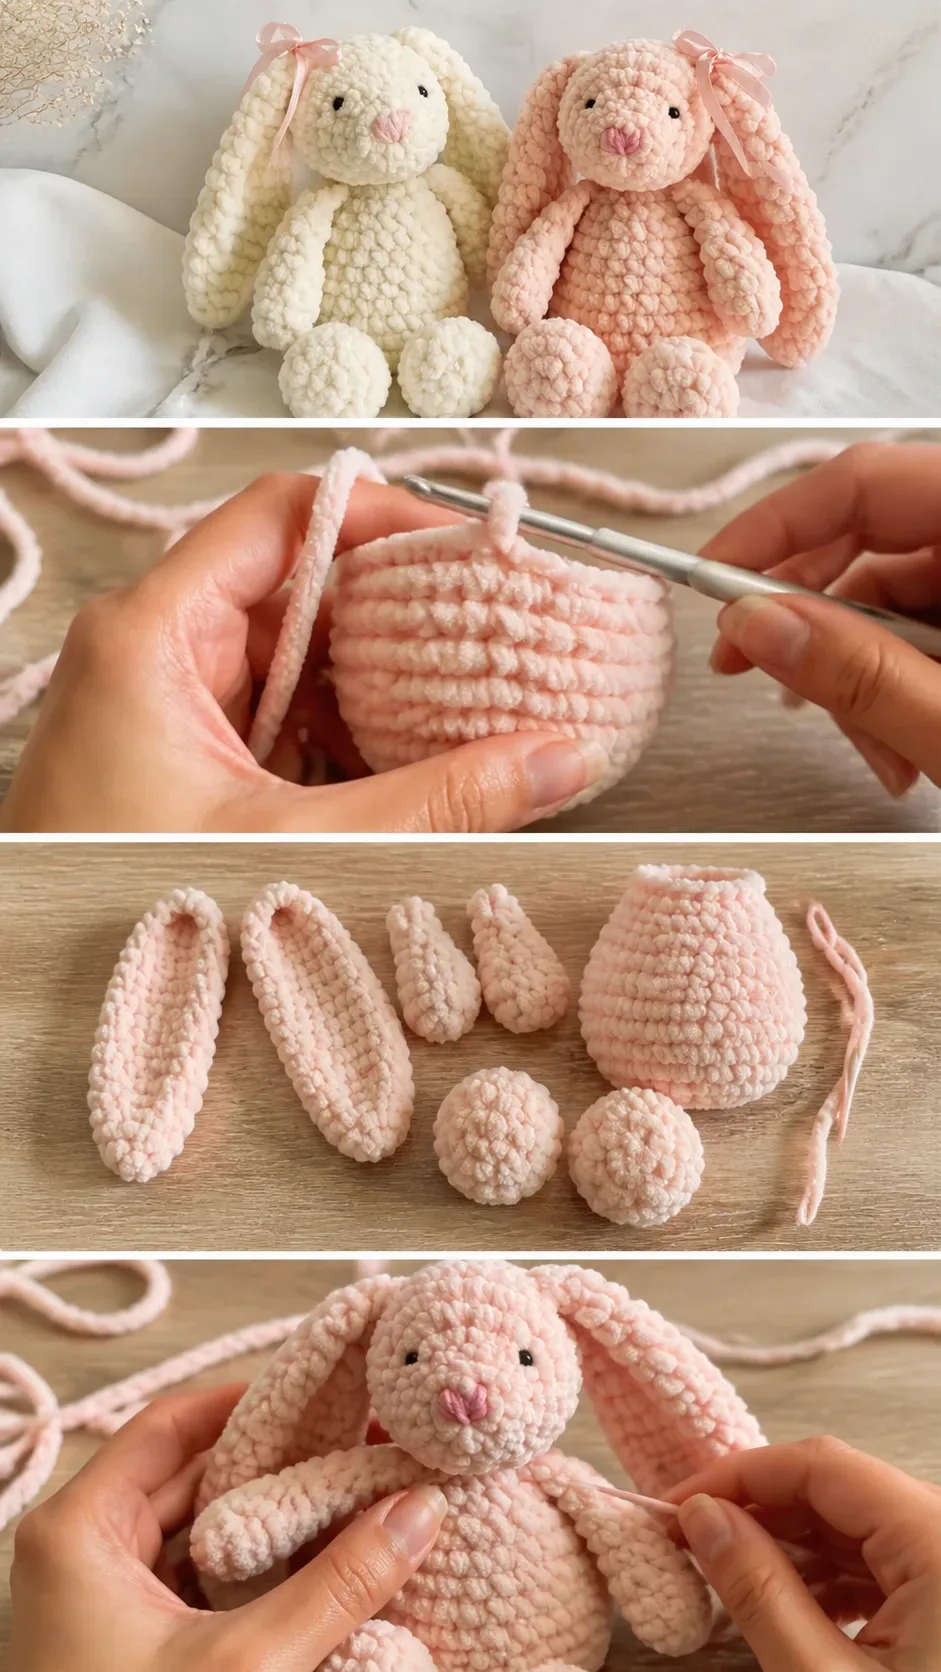
Stitch by Stitch
The Crochet Bunny Plushie relies on a small, satisfying vocabulary of crochet stitches that even a newer maker will find approachable within the first round.
BULLET:MR (Magic Ring) This is your starting foundation for every round piece on the bunny, pulling tight to close any gap at the center of the head, body, and limbs.
BULLET:SC (Single Crochet) The primary workhorse stitch of the entire project, creating that dense, even fabric that holds its shape when stuffed.
BULLET:INC (Invisible Increase) Worked as two SC into the same stitch, this increase expands each piece outward in smooth, rounded increments.
BULLET:DEC (Invisible Decrease) Used to close and shape each piece as you approach the top, this decrease pulls two stitches together cleanly without leaving visible holes.
Working entirely in the round with SC produces a meditative rhythm that becomes almost automatic after the first few rows, the kind of repetitive, grounding motion that makes an afternoon disappear in the best possible way.
Construction
Every part of the Crochet Bunny Plushie is crocheted separately in continuous rounds, starting from a magic ring, then increased outward to the widest point before decreasing back in, so each piece becomes its own little stuffed pod before assembly. The head, body, two arms, two legs, and the long floppy ears are all made this way, giving you a satisfying collection of soft shapes to stuff and then sew together using a plastic tapestry needle, exactly as shown in the video tutorial. The assembly itself is the most forgiving part of the process, since the thick chenille texture hides seams generously, making this a particularly good construction method for beginners who worry about neat finishing. If you want to personalise your bunny, consider adding a small satin ribbon tied into a bow at the base of one ear, or swap the embroidered nose for a small crocheted snout worked in a contrasting color.
Wearing Your Bunny Plushie
A finished Crochet Bunny Plushie makes one of the most heartfelt baby shower gifts you can bring to a table full of store-bought boxes, soft enough for newborn hands and cheerful enough to sit on a nursery shelf for years. It also makes a beautiful Easter basket centerpiece, especially in cream or pink with a ribbon bow, or a charming prop for flat-lay photography if you style it against a linen backdrop with dried flowers. Finishing this project feels less like completing a craft and more like delivering something small and loving into the world.
Keeping Your Bunny Plushie Soft and Fresh
Because chenille yarn can mat and flatten with rough handling, the best way to wash your Crochet Bunny Plushie is by hand in cool water with a gentle, wool-safe soap, pressing the water out softly rather than wringing. Lay it flat on a clean towel and reshape the ears and body while it is still damp, then allow it to air dry completely before returning it to display or giving it to a child. If the bunny is intended as a toy that will be loved hard and laundered often, placing it inside a mesh laundry bag and running a very gentle machine cycle on cold is a reasonable compromise for most quality chenille yarns. Store it away from direct sunlight to prevent the soft colors from fading over time.
Every stitch you place into this bunny is a small act of generosity, whether toward a child, a friend, or simply yourself. The full video tutorial for this Crochet Bunny Plushie is linked below with all the round-by-round details you need, so save this post to your Pinterest boards and share your finished bunnies in the comments because this community loves to see what your hands create.
Follow us on Pinterest and subscribe to the Newsletter so you don’t miss a thing!
Tutorial and photos of this bunny plushie by: mahum 🎀.